Creatures that call my garden ‘home’

I try to encourage wildlife to take up residence in my garden by growing plants in a polyculture, where edibles, flowers, herbs and wildflowers are all mixed up together.  I’m not great at photographing the little critters that move in (they don’t pose for me), but here are a few that I managed to snap this year:

This slideshow requires JavaScript.

How to Green the Desert: Europe’s Heatwave and some Holistic Suggestions — The Permaculture Research Institute

Quote

In the Northern Hemisphere, the balance of light is turning ever more towards darkness as we approach the Autumn Equinox. This is following a summer which in many places was unusually hot and dry(1, 2). This is perhaps not unexpected; climate change scientists have been predicting extreme temperature spikes for a number of years(3). However, it…

via How to Green the Desert: Europe’s Heatwave and some Holistic Suggestions — The Permaculture Research Institute

Hablitzia Tamnoides – Caucasian Spinach

I first heard of Hablitzia Tamnoides (or Caucasian Spinach) when I was searching for perennial salads.  These perennial climbers produce leaves that can be used young in salads, or the larger older leaves can be cooked like spinach.  I ordered seed from Incredible Vegetables, and they arrived with a comprehensive guide explaining how to grow them.  Mandy from Incredible Vegetables was also very helpful.  I followed her guidance, sowed some seed, and put it outside in the Autumn of 2017, as the seed needs a cold period to germinate.  However, it seemed that my seed couldn’t wait to get started, as it made an eager appearance soon after sowing.  This left me with the challenge of how to support the young seedlings through the winter, given that I didn’t have a greenhouse at the time.  I covered them with horticultural fleece and kept them close by, and they survived even the Siberian winter storm that we had in early 2018.  Eager, hardy little souls they were.  I was delighted with them.  Once I got my greenhouse early this year, I sowed some more, and this time they got the fridge stratification treatment.  I sowed them into pots, put them in the fridge for a few days, and then put them in the greenhouse.  Once again, they germinated promptly.  Here they are as young seedlings:

Hablitzia Tamnoides seedlings

Hablitzia Tamnoides seedlings

I planted out the ones that had managed to overwinter, along with some Claytonia miner’s lettuce that appeared out of nowhere (I had once grown it, so I guess there were seeds around):

Hablitzia Tamnoides young plants

Hablitzia Tamnoides young plants

These grew up happily, encouraged to climb a trellis against the back wall.  This is underneath a canopy of mature trees behind us, so is in a very shady position.  Hablitzia does seem to be happiest in shade in my garden:

Hablitzia Tamnoides growing on trellis

Hablitzia Tamnoides growing on trellis

It does have an interesting colour variation, in that it grows much paler when it is in sunlight.  The plants below have been grown up a wigwam of canes, and the front plants are in the sun whilst shading the plants behind them.  You can see that the front plants are a zesty lime-green, whilst the plants behind are darker.  The lime green makes a wonderful contrast with the verbena bonariensis next to it:

Hablitzia Tamnoides on wigwam

Hablitzia Tamnoides on wigwam

I’ve not taken much from the plants in this, their first year, but I have had a few of the smaller leaves in salads, and I harvested some of the larger leaves for cooking:

Hablitzia Tamnoides leaf harvested

Hablitzia Tamnoides leaf harvested

The leaves were wilted for 2-3 minutes in boiling water.  The texture is not as ‘limp’ as spinach, but has more ‘mouthfeel’ which is rather pleasant.  I mixed them with red veined sorrel for additional flavour, but I’d be quite happy just eating the Hablitzia on their own.  They have a spinach-like flavour, a more chewy texture, and don’t wilt down as much.  On the whole, I’m really happy with this addition to my edible perennial vegetables, and they seem to grow very happily indeed in West Yorkshire.  Happy days.

Path Maintenance

This was a quick 45 minute job.  I picked a section of path  at the back to work on.  First I weeded it, which was really easy as they just lifted out of the mulch:

Path weeded shrunk

Then I moved aside the woody top layer, and dug out a trug full of the lovely dark brown crumbly wood mulch:

Mulch dug out boards put down shrunk

This left a bit of a hole, which I filled in with some rotten planks of wood that had  previously made a small raised bed.  I trampled it all down until it felt level (and safe!).  Meanwhile, the raspberries needed a haircut:

Overgrown raspberries shrunk

So I trimmed them back and tucked them into their wires, and put the woody cuttings down across the boards in the path.  They will die back and go brown over time:

Raspberries cut back onto path shrunk

Path maintenance.  Simple!

Paths that offer a yield

OK, so I’m a bit thrifty.  I don’t like shelling out hard-won cash on paving slabs, and I’m not keen on the environmental cost of them.  So I have evolved a rather unorthodox approach to ‘paths’.  Clearly, I do need to be able to access the raised beds.  My feet have to go somewhere.  So I had to come up with some sort of path covering solution.

There are two permaculture principles that I apply regularly to help me solve problems.  The first is ‘the problem is the solution’.  The second is to ‘keep everything in the system’.  I hate waste.  So when we had some trees cut back at the boundary of our property, we asked if we could keep the wood chips – keeping them in the system.  The tree surgeons left them in a pile, and we bagged them up and tipped them out onto our ‘path’ area in the back garden.  So far, so tidy.

path at back - good - shrunk

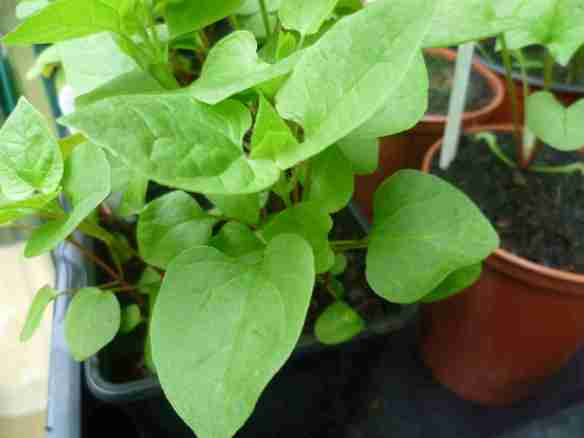
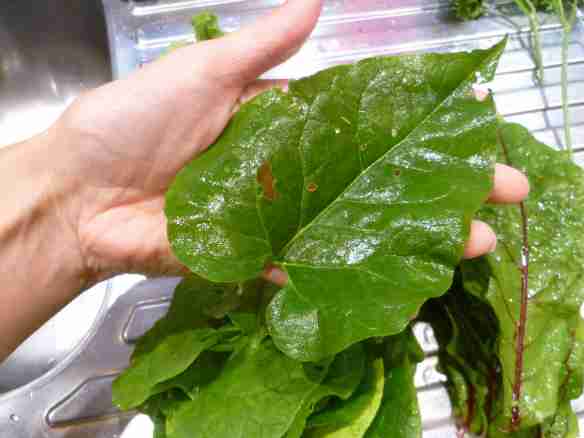
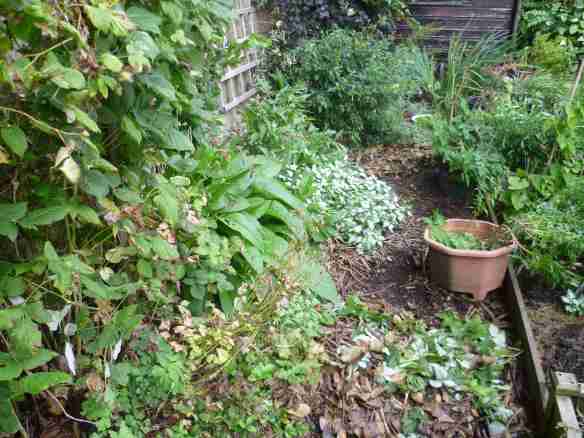
As time went by, of course, we found ourselves wading through our ‘paths’ in wellies in the wet winters.  The wood chips had turned into a beautiful growing medium.  And underneath the surface was a wonderful woody mulch which we can excavate and use on borders.  In the summer months when we need to access the beds, this mulch dries out and becomes perfectly useable as a path.  It also grows a few edible greens on the side.

path at back growing chard landcress sorrel - shrunk

I maintain the path by throwing down any of our woody cuttings – bits of trees,  shrubs, and even woody cabbage stalks.  These are things that don’t compost easily, but they do eventually break down on the path, after doing their job as a walking surface.  The problem – hard-to-compost ‘waste’ – becomes the solution.

back path - good - shrunk

The front path alongside the boundary hedge is something else again.  We started by putting down some leylandii trimmings from our friendly tree surgeon.  These came from a neighbour’s property, and the tree surgeons wheeled them to our property in our wheelie bin.  It is not a good idea to leave them in the bin too long, as they actually start to steam as they heat up.  We hurriedly laid the ‘path’.  This did its job as a path for a while.  After a surprisingly short space of time, things changed.  In the bed beside this path I had lambs lettuce.  This self-seeded prolifically into the leylandii trimmings, and seemed to rather like it there.  Before long, we had a bed of winter salad.  And in winter, of course, we don’t really need to use the path for access.

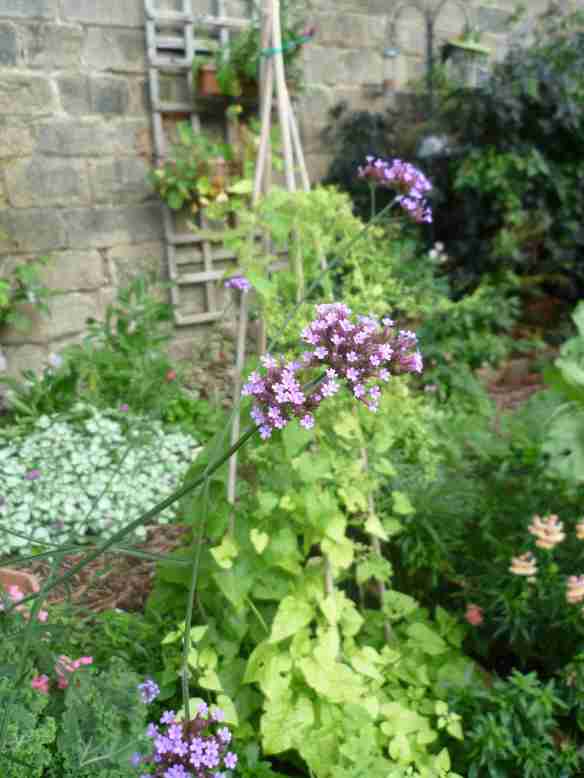
By spring and early summer, the lambs lettuce flowered, and we had a beautiful wildlife space …

front path overgrown 2 - shrunk

then it set seed …

Lambs lettuce seeding on front path

Lambs lettuce seeding on front path

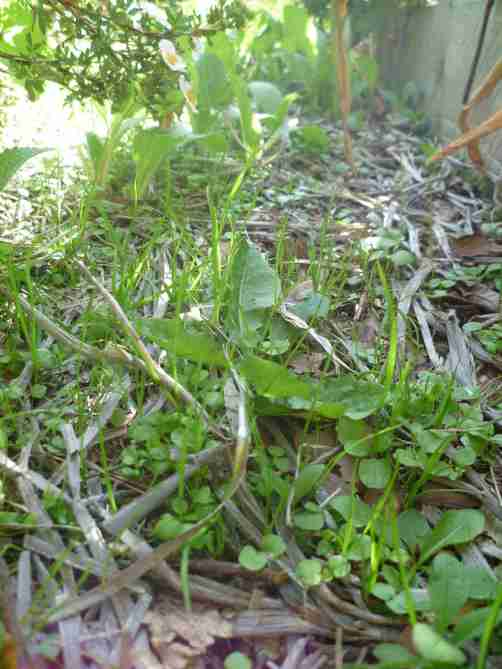
Soon it had dried to a nice, walkable mulch.  All summer I had access down the side of the garden.

Lambs lettuce dried mulch

Lambs lettuce dried mulch

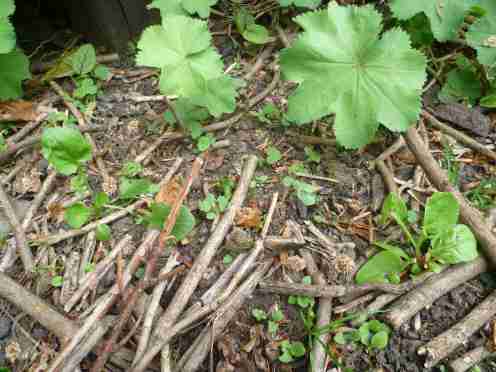
When the rains came again in early Autumn, the winter salads started to reappear, ready-mulched by last year’s growth.

Lambs lettuce seedlings

Lambs lettuce seedlings

A third permaculture principle is to ‘obtain a yield’.  These two path systems yield:

  • a walking surface for the time of the year when I need one;
  • a long-term compost system for woody, hard-to-compost trimmings;
  • a mulch that can be excavated when required, simply by removing the top layer;
  • a growing medium for additional edible greens, which can be weeded and eaten to reclaim the path.

Magic.  Just magic.